
The Secret to Homemade Sweet Bread

In the early 1990s, when bread machines were all the rage, I would whip up a batch of delicious homemade bread once a week. From wheat and potato breads to bagels, bread sticks, salted pretzels, pitas, and sourdoughs, I made them all.
Then the motor in my machine burned out. And so did my desire to bake fresh bread.
My bread machine was soon replaced with a more versatile Kitchen Aid. Unfortunately, my bread making is now just a seasonal event.
Every Thanksgiving, Christmas, and New Year’s, I make dozens of homemade sweet rolls. They are quickly gobbled up hot for holiday dinners and make yummy sandwiches with leftover turkey and ham.
Homemade Sweet Bread (or rolls)
1 cup milk
2 eggs
2 T. butter
1/2 cup sugar
3/4 t. salt
3 cups bread flour
1 T. dry yeast

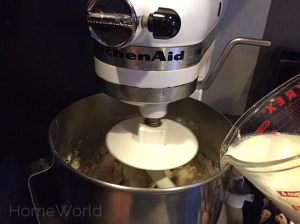
In the picture I am making a double recipe, that’s why there’s 4 eggs instead of two.
Secret #1: All ingredients must be a room temperature. Cold ingredients will ruin your yeast.

 Secret #2: To speed up the process, I give my eggs a hot water bath and zap my butter and milk in the microwave until the butter melts. Be careful not to make it too hot or it will cook your eggs!

Secret #3: Yeast can be purchased in bulk and stored in an air-tight container in your refrigerator for a year.
Add all your dry ingredients in the mixer with the yeast on the top to ensure that the yeast mixes well with the other dry ingredients.
 Mix until blended. Then add the eggs. Letting the eggs incorporate into the dry mixture will ensure the eggs don’t cook when you add the heated milk and butter.

Slowly, add the milk and butter.
Knead until well incorporated. This will take 5-10 minutes with the Kitchen Aid. You can also do this by hand but it will take much longer and require more muscles.
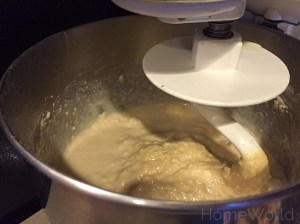
Notice how lumpy dough is during first mixing.
Now, let your dough rise. This will take an hour so patience is required.

Left: The dough is beginning to rise. Middle: The dough is rising nicely which means your yeast is active. Right: Notice how silky the batter looks after an hour of rising.
Give your Kitchen Aid another spin or punch down your dough by hand. This recipe requires 3 full rises.
After the second rise, punch down your dough again. Remove in portions and form into balls.
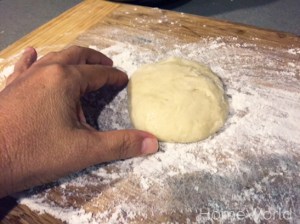
Place balls of dough in a greased Pyrex pan.
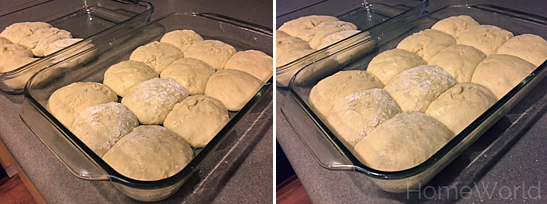
Left: Dough is just starting its third rise. Right: Dough is fluffy and full after rising for 30 minutes.
Bake in a pre-heated 350 degrees oven for 25 minutes or until lightly brown on the tops.

Remove from oven and let rest for a few minutes before transferring to a baking rack to cool.

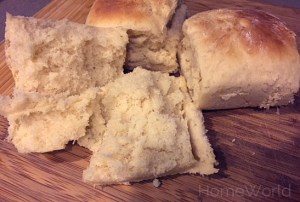
Secret #4: Look how light the texture is because of the three rises! Don’t cheat and do two rises. The secret to bread-making is to let your dough rise three times!
Eat hot with or without butter. Enjoy!
From our HomeWorld family to yours, we wish you all a Happy Thanksgiving.
